The One Year Build -Gundam GB
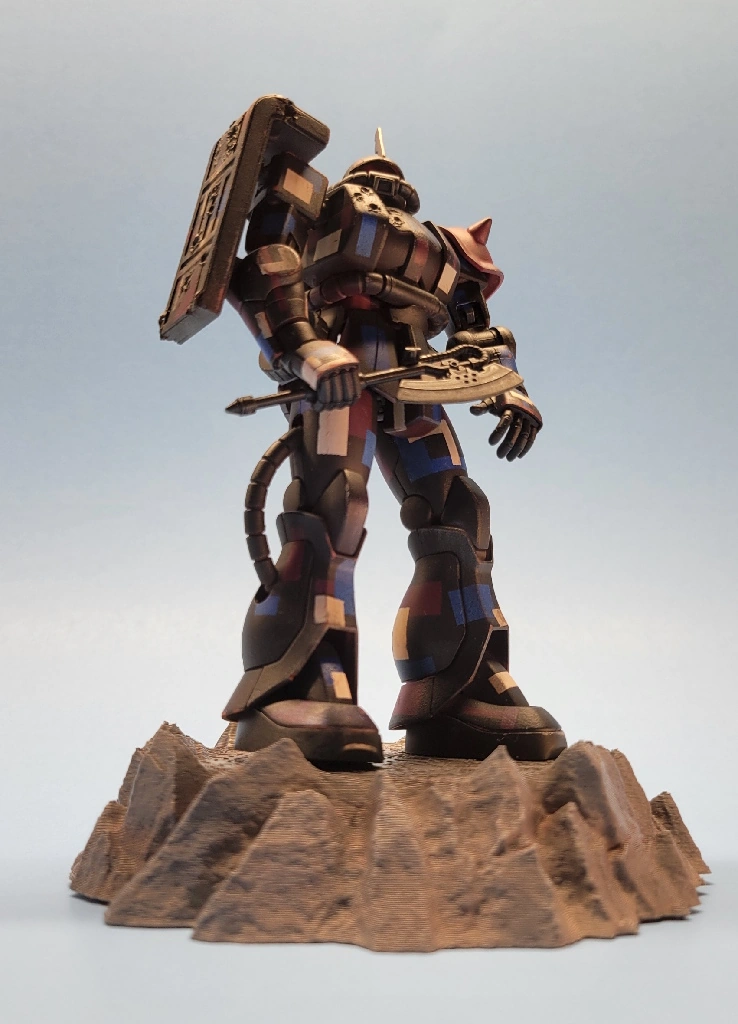
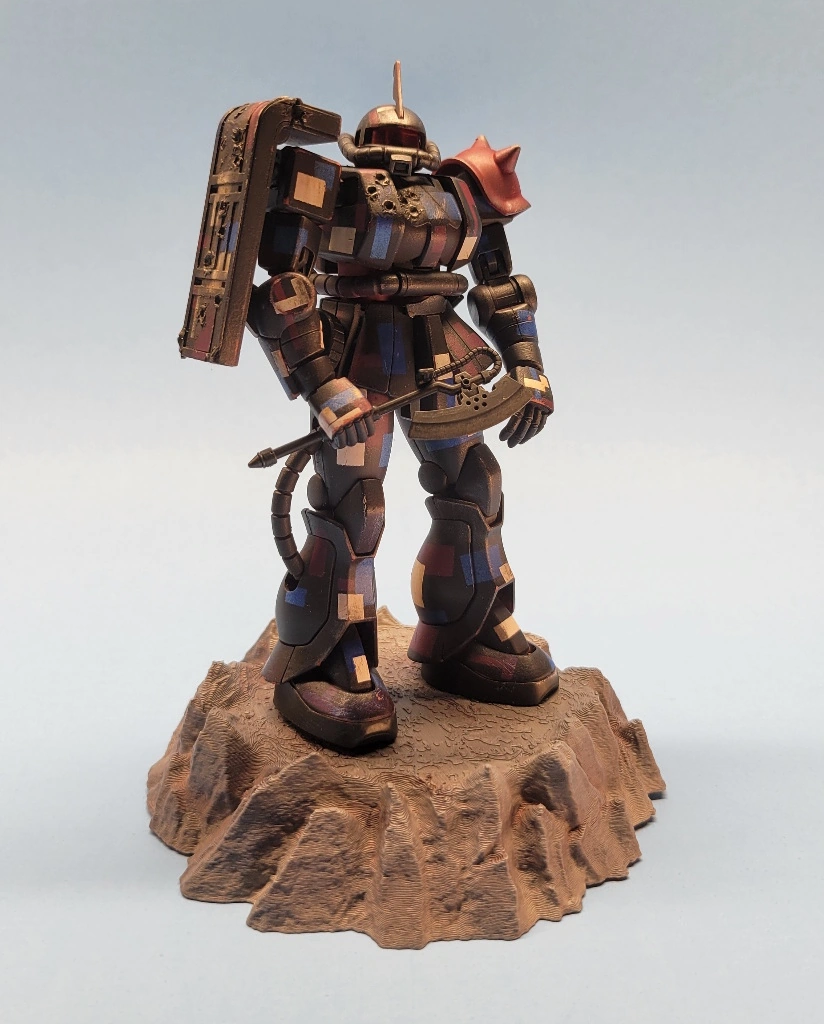
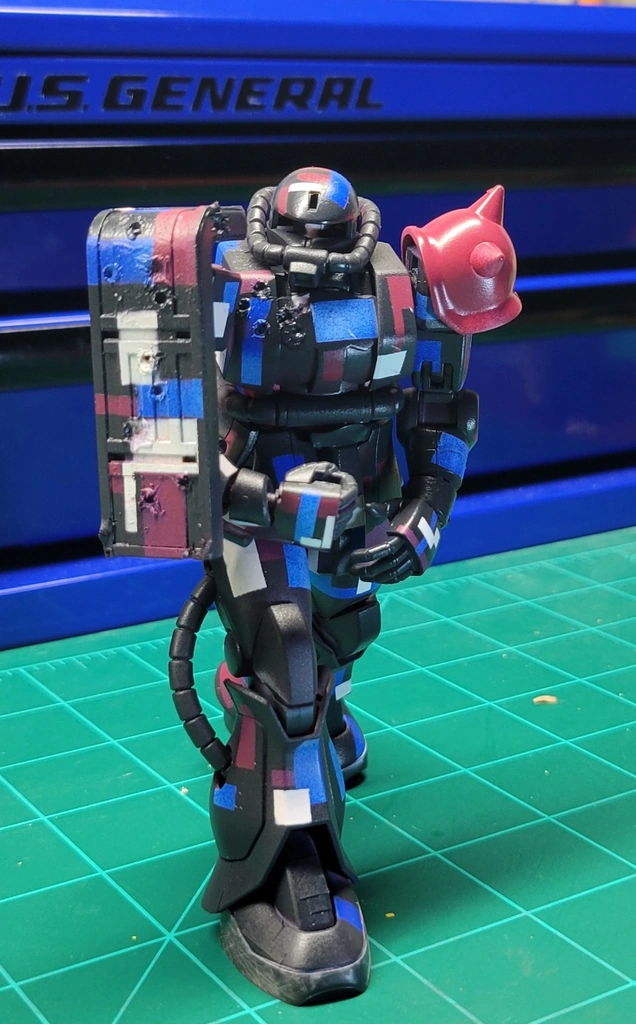
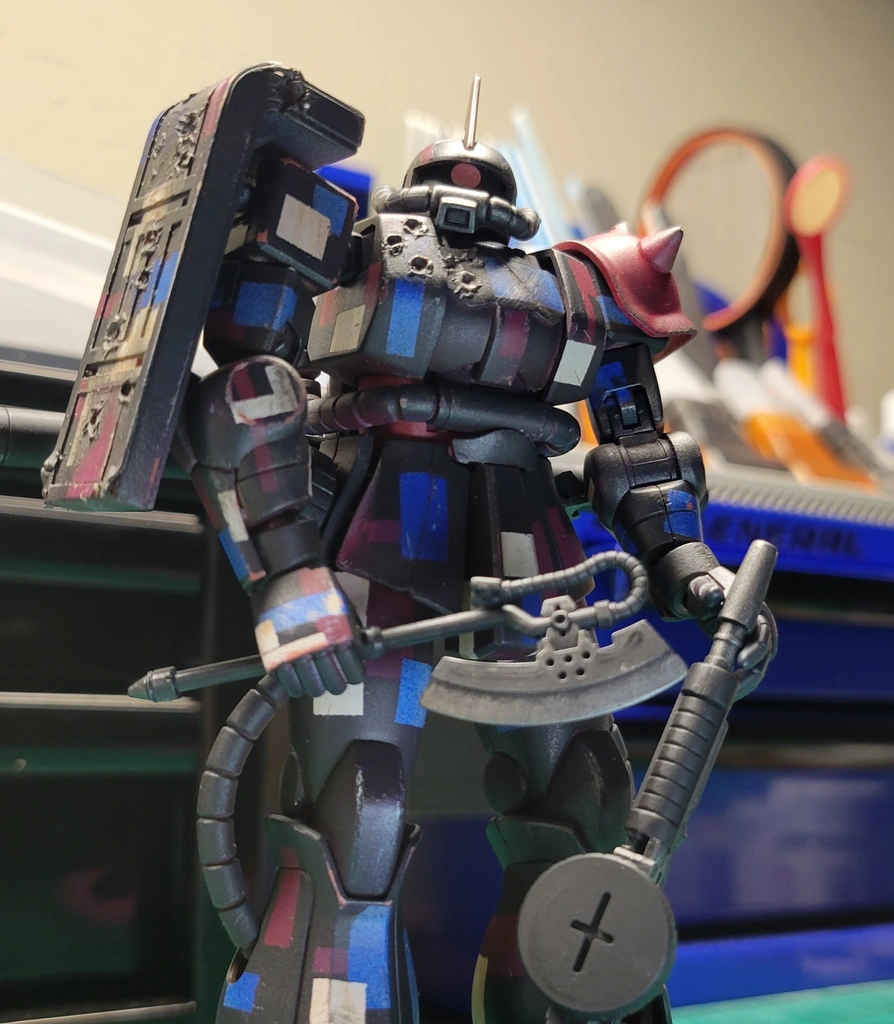
Kit: MS-06S Zaku II Scale: 1/100My entry for ‘The One Year Build -Gundam GB’. This build focuses on heavy chipping and dust effects to give it a worn, deployed-in-the-field look.
The kit
It’s a Bandai Gundam; enough said.
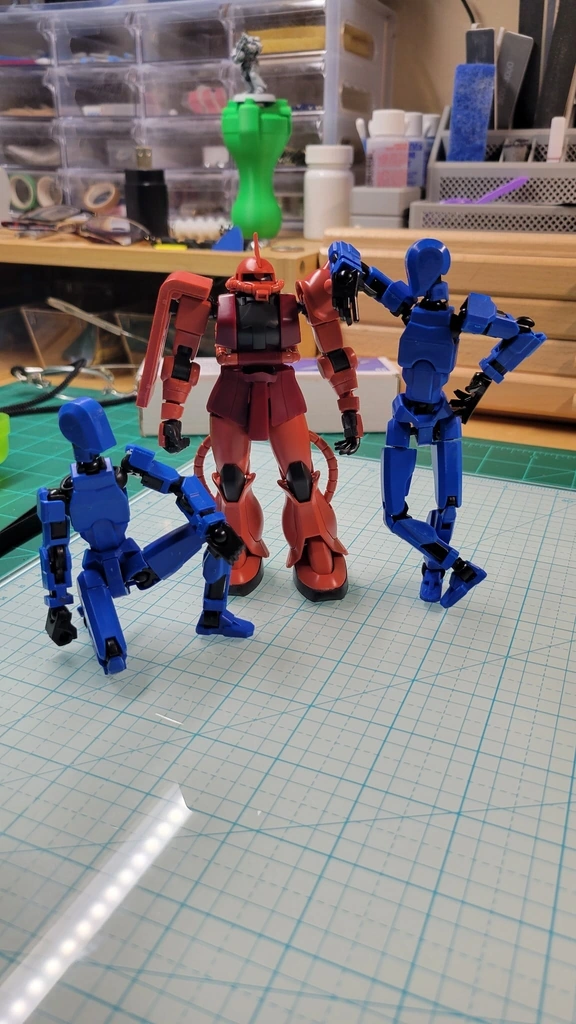
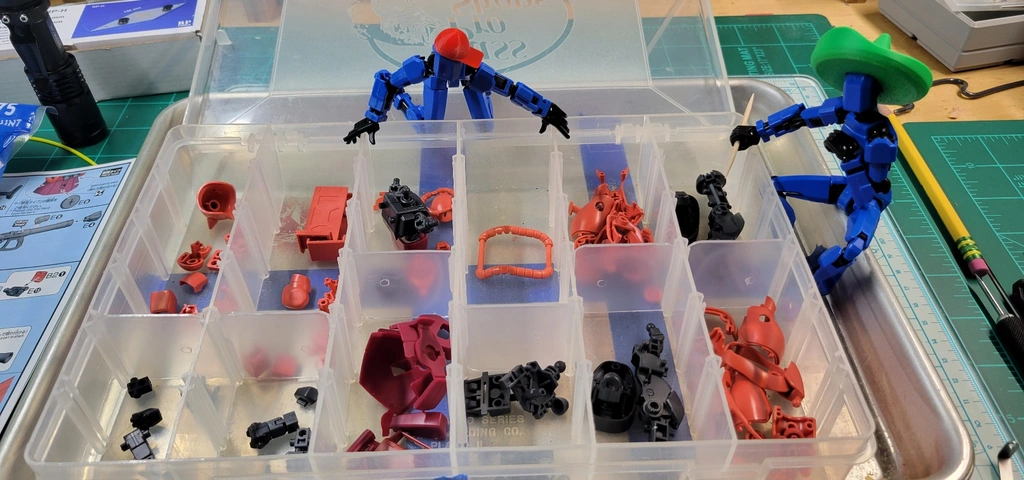
It begins - Assembly
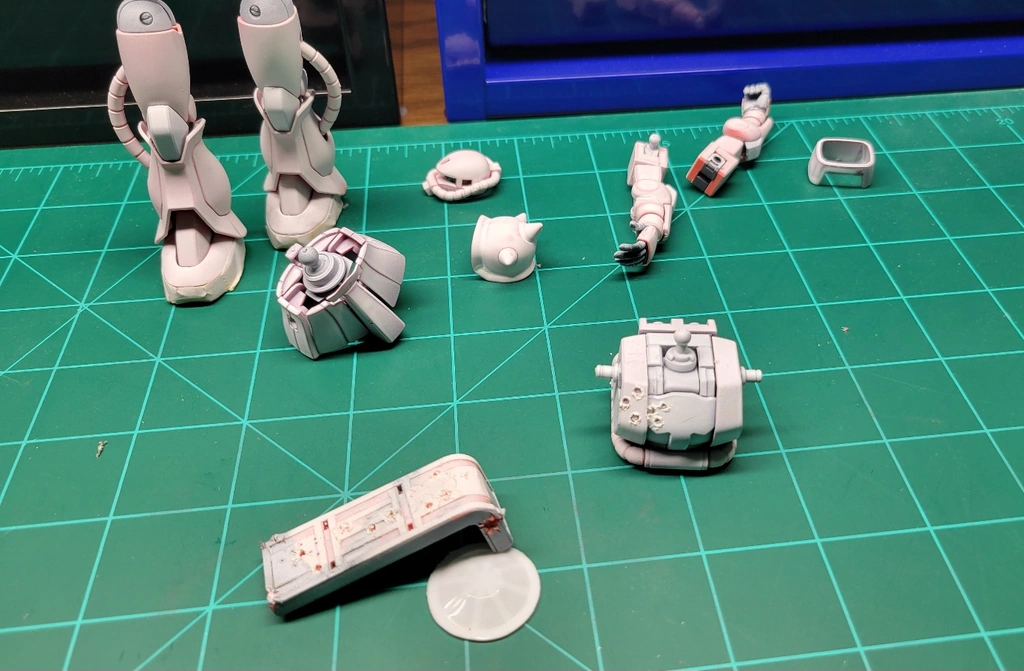
As is with most Gundam builds, the assembly is rather quick and mostly without issue.
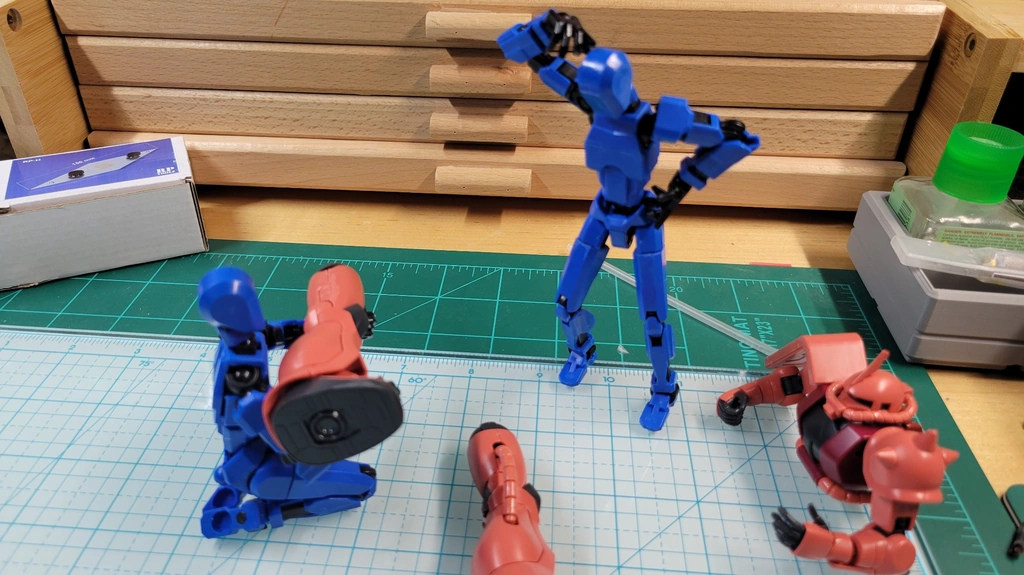
Some Experimentation
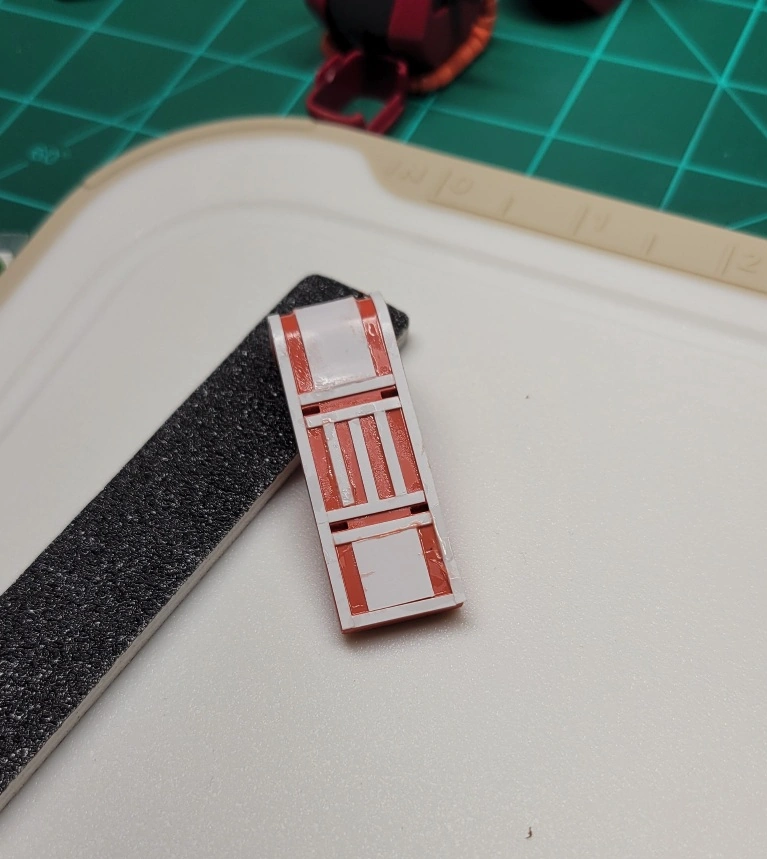
Internals
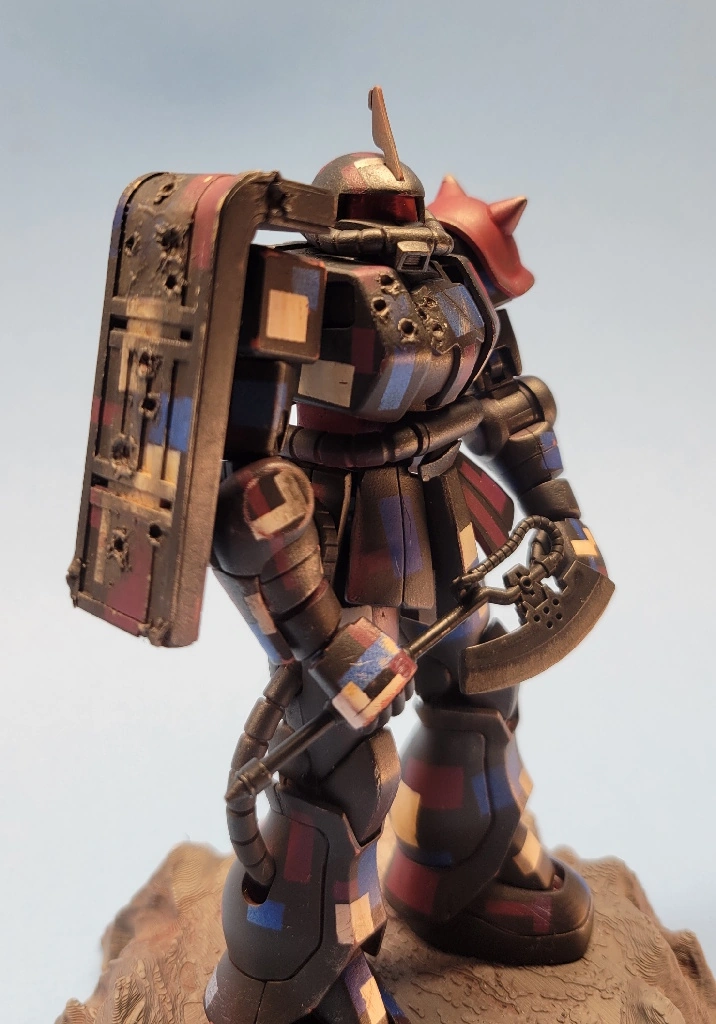
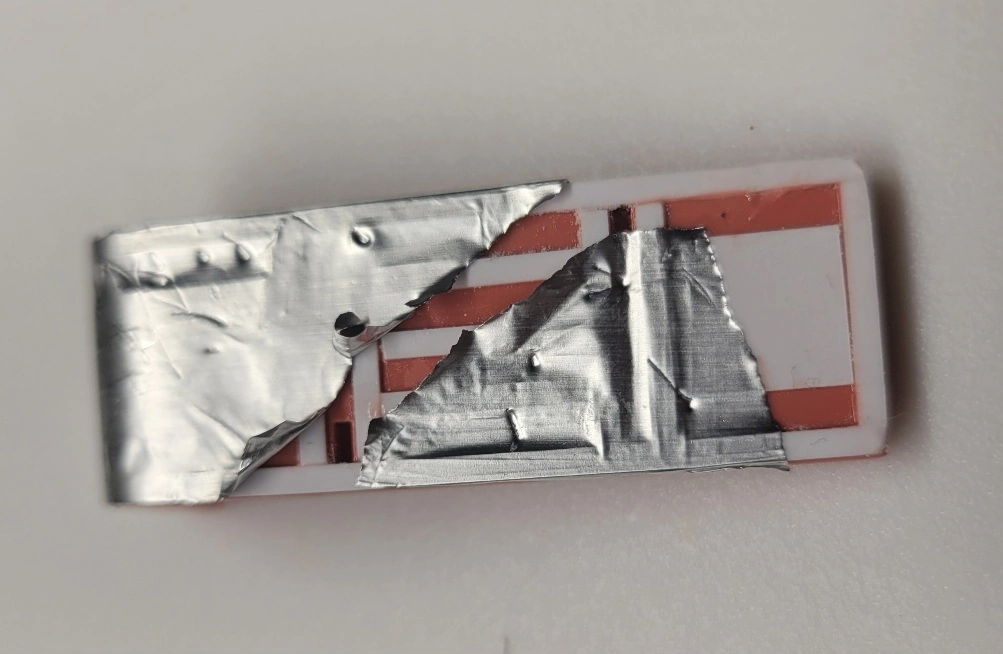
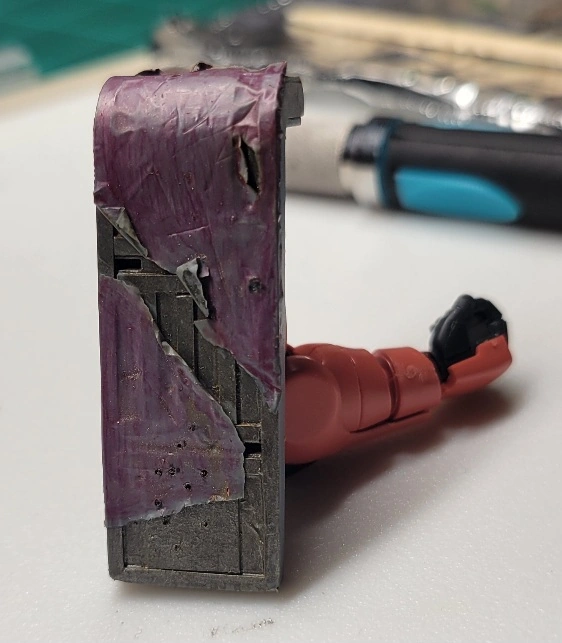
I wanted to try replicating the look of the Gundam’s metal “skin” being torn or damaged, and figured the shield would be a good place to experiment. I added some internal “ribs” and sub-structure using styrene stock and rod, then covered it with metal foil and tore it away to simulate damage. I wasn’t totally sold on the method, but decided to press on anyway.
After adding paint, shading, and some weathering, it became clear the illusion just wasn’t working for me. In the end, I removed the foil completely.
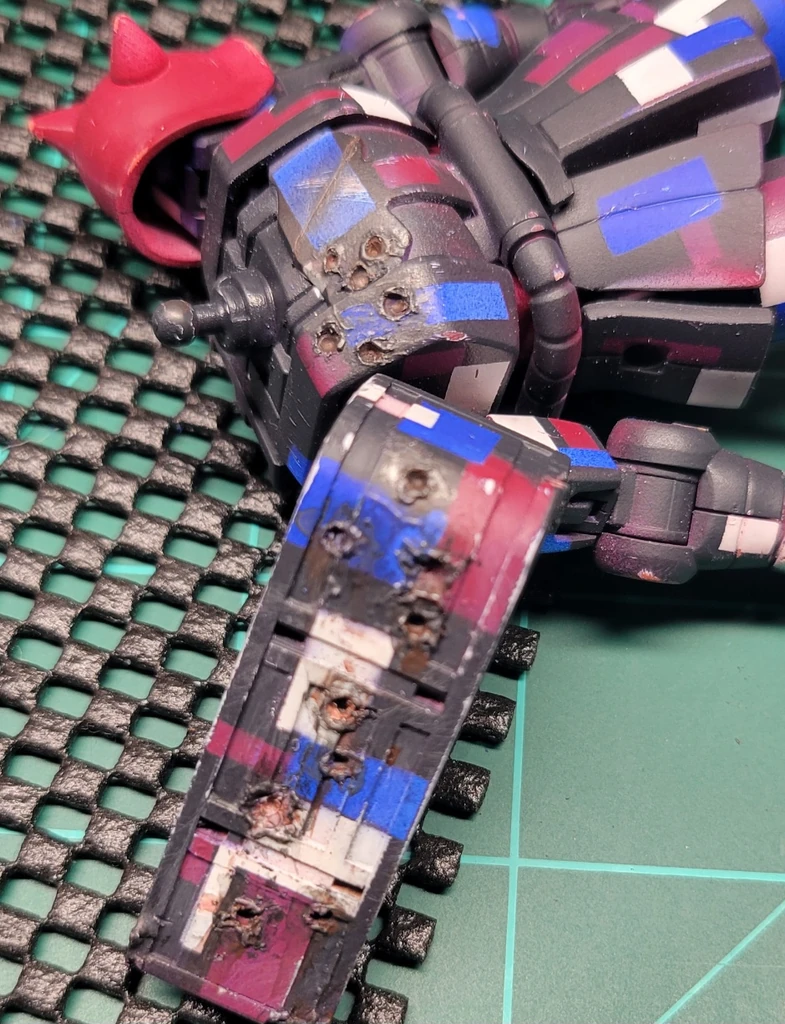
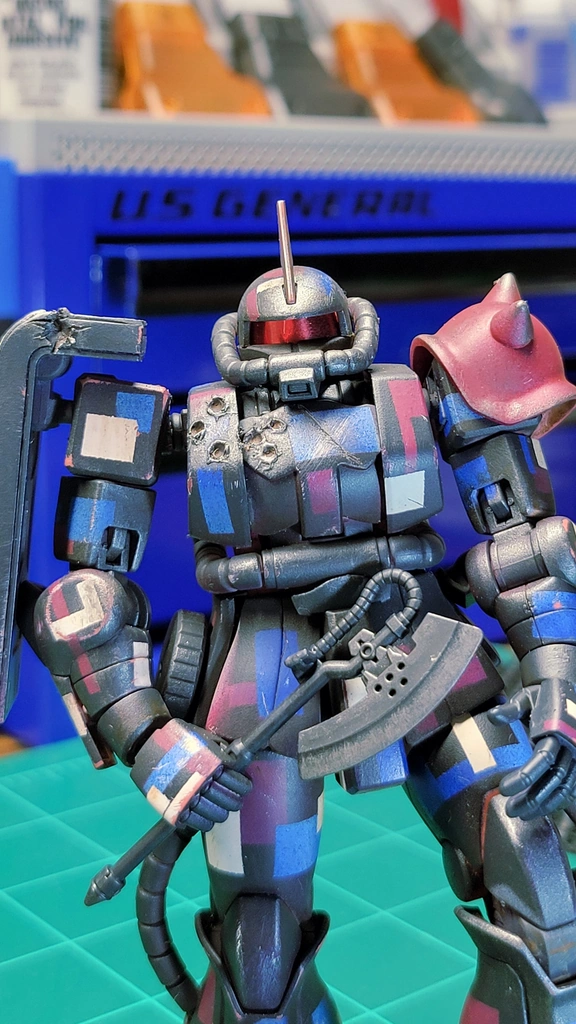
Battle Damage
Taking a cue from a friend (Hercmech) and his battle-damaged Gundam, I decided to give it a try myself. The process was equal parts fun and frustrating—but through plenty of trial and error, I got there in the end.
Paint
Sprayed Mr. Hobby Aqueous paints today, and I can’t say I’m a fan. They’re kind of stinky and require a lot more cleanup for results that feel no better than Vallejo. I honestly don’t see the appeal.
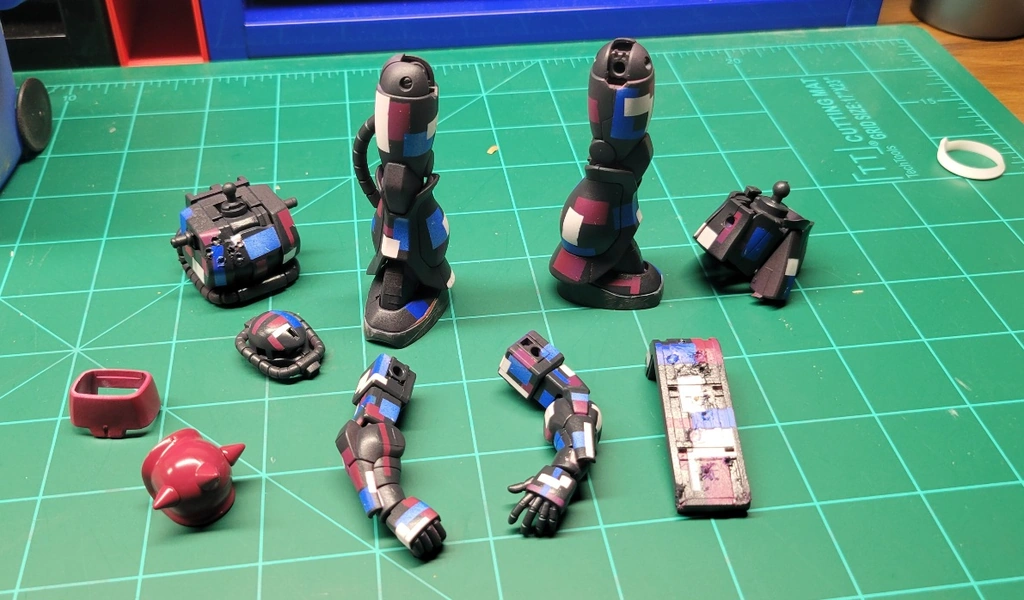
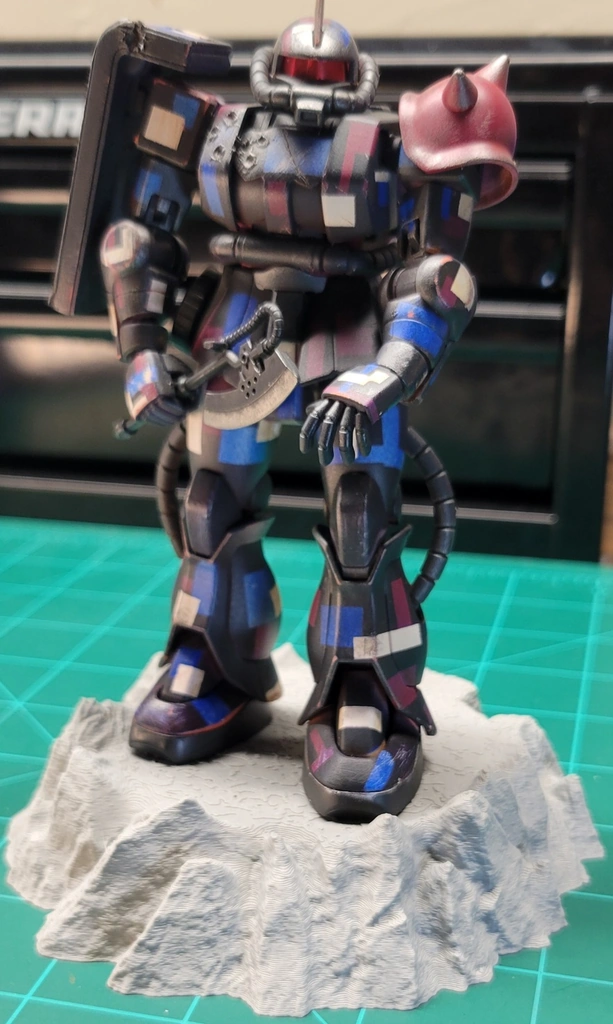
The goal was to avoid a basic color and go for a camo scheme that a giant machine might realistically use, but I missed that mark by a long shot.

Weathering
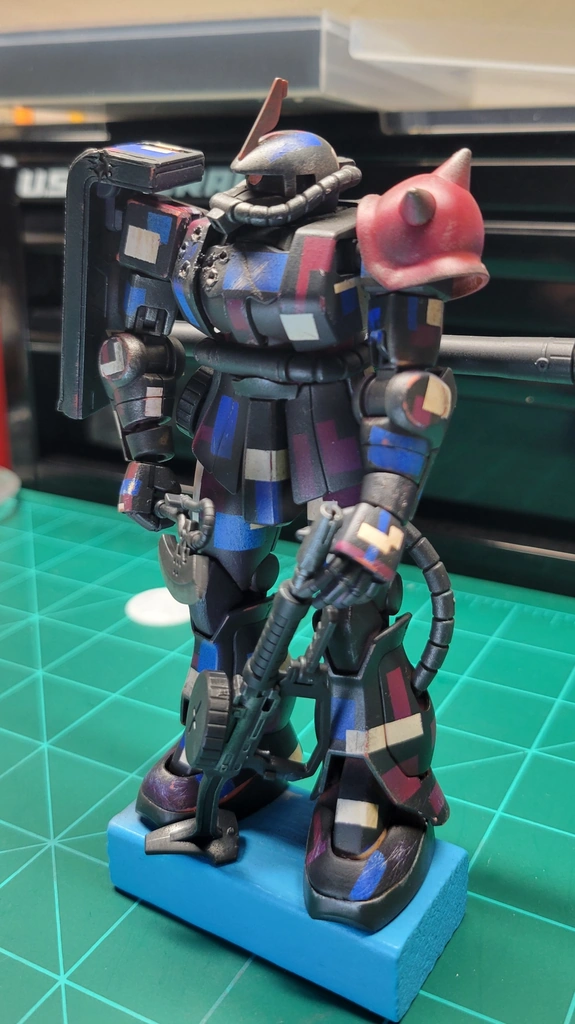
The fun part. Added scratches and damage. Used sponge chipping with dark brown and gunmetal, then oil washes for grime in the panel lines. Finished with pigment powder for the dust accumulation on lower legs and feet.
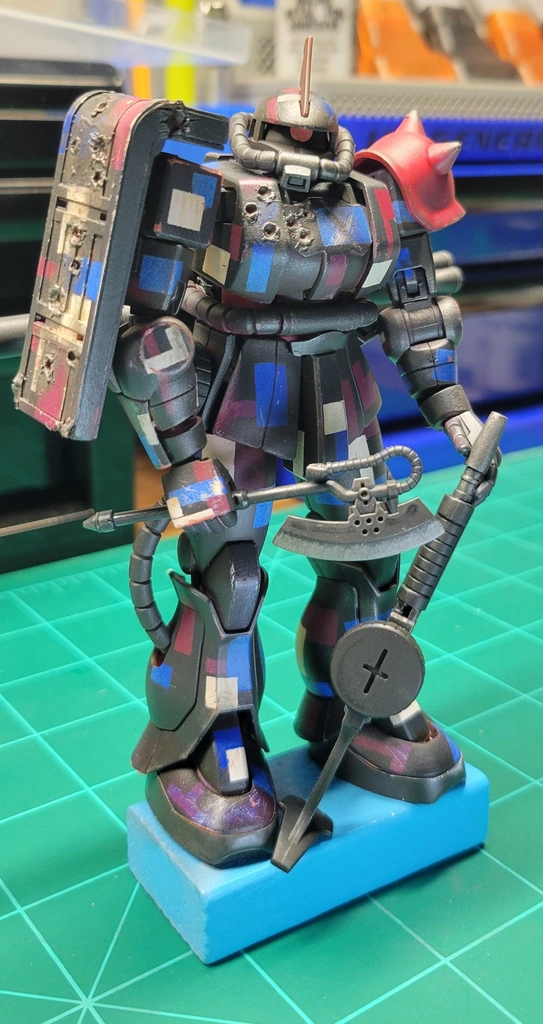
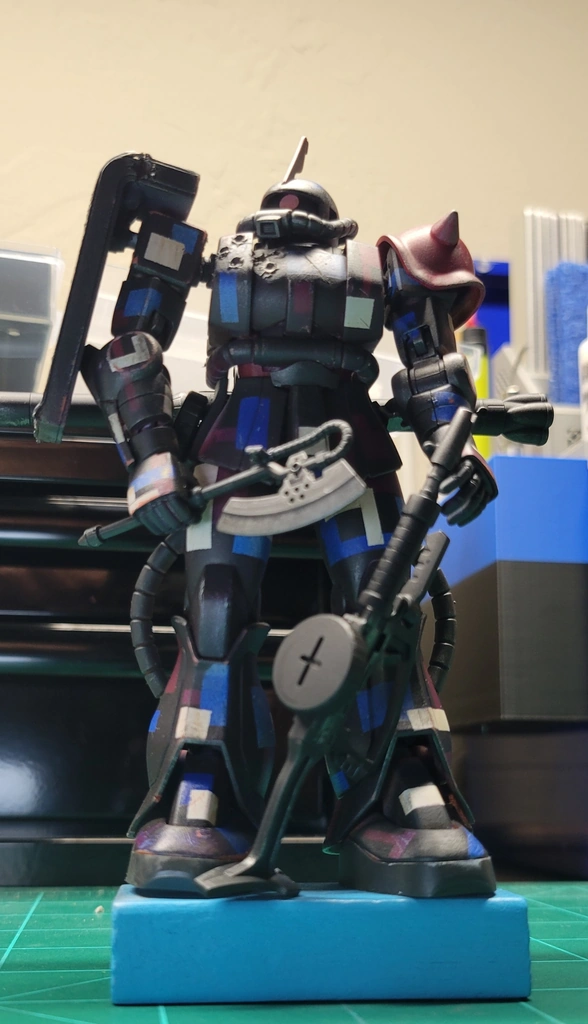
Base
I 3D printed a base. It needed something it did not look right on its own.
Finaly Done